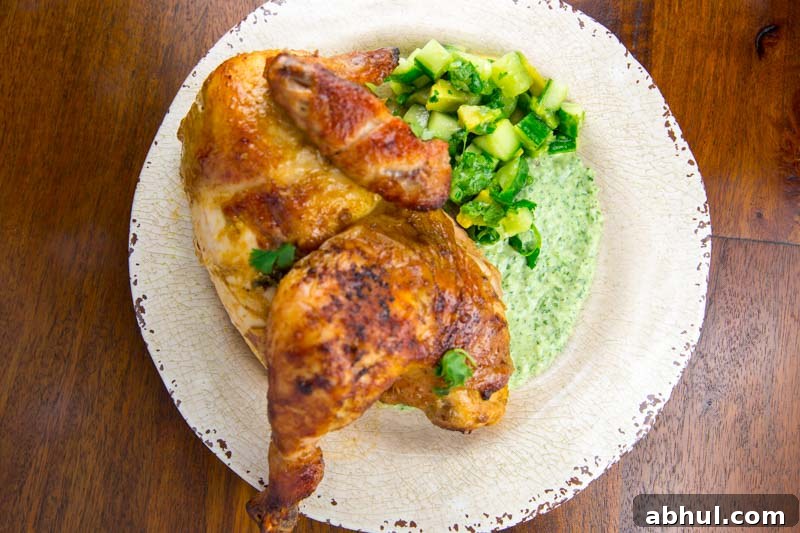
There is a reason Peruvian Rotisserie Chicken, or Pollo a la Brasa, is celebrated around the world. It combines a bright, aromatic marinade with the classic method of slow rotisserie roasting. The result is a bird with deeply seasoned, crispy bronze skin and juicy, tender meat that often falls off the bone.
To achieve that memorable texture and flavor you need two things: a well-balanced marinade that layers citrus, garlic, and warm spices, and a rotisserie setup on the Big Green Egg. The rotisserie lets the chicken self-baste as it turns, while the ceramic body of the Egg holds steady, even heat for a consistently succulent result you won’t get from a conventional oven.
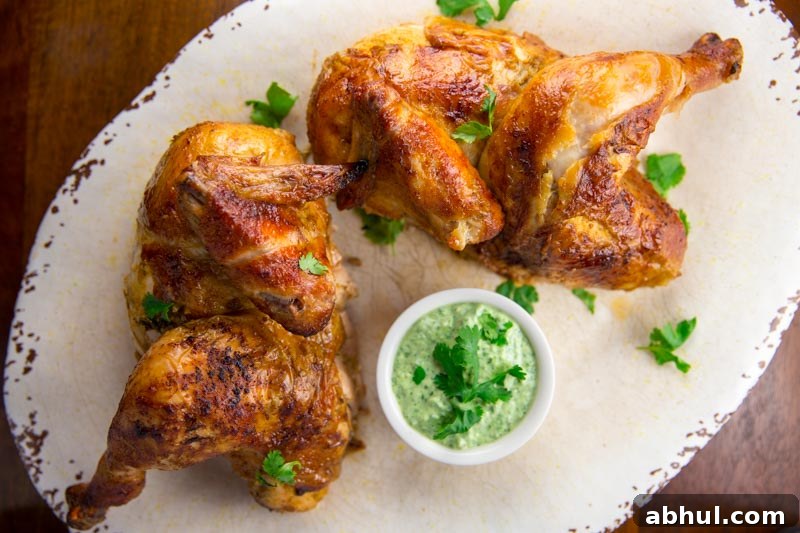
Serve the chicken with a creamy, zesty Aji-style green sauce for a backyard feast that elevates any meal. Relax with a cold beer and enjoy this guide for Rotisserie Peruvian Chicken on the Big Green Egg.
Step 1: The Flavor Foundation (The Marinade)
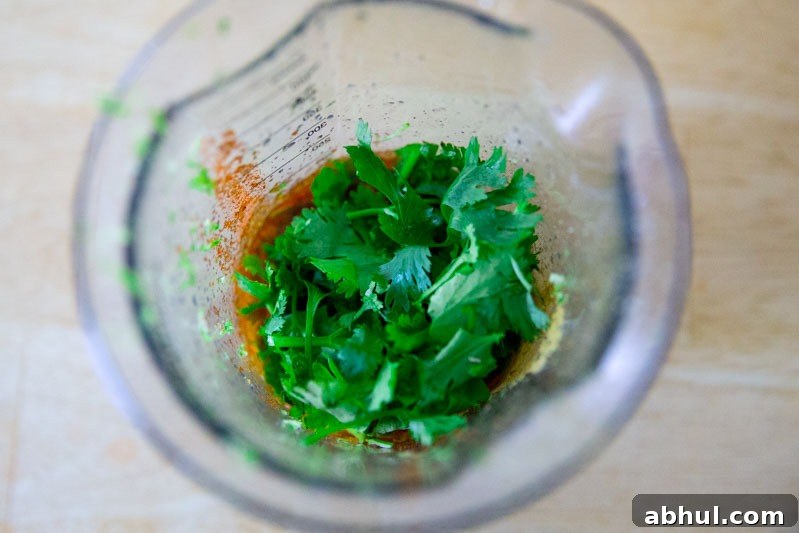
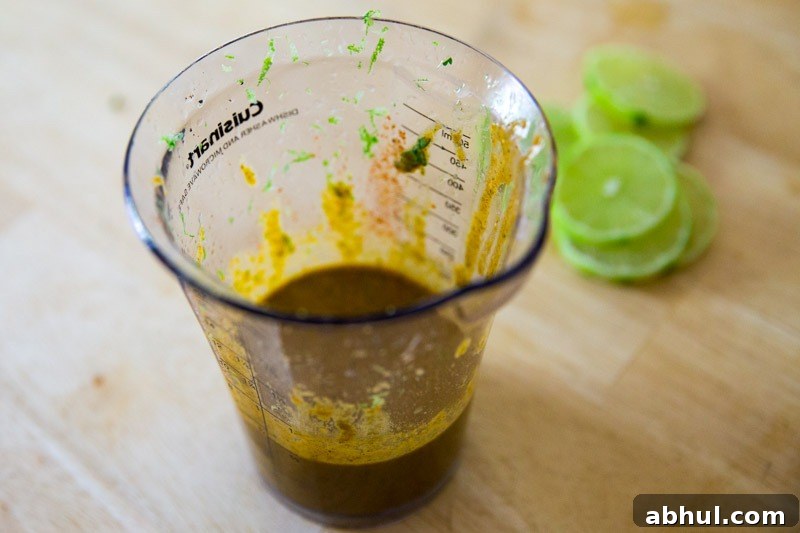
A marinade that penetrates the meat and balances bright acidity with earthy spices is the foundation of authentic Peruvian flavor. Start with fresh garlic, lime juice and zest, and cilantro, then add paprika, cumin, oregano, salt, pepper and a touch of sugar to round everything out.
- Citrus and Garlic: Lime juice tenderizes the meat while garlic provides a savory aroma that roasts into the skin.
- Balancing Spices: Paprika gives color and sweetness, while cumin delivers the earthy notes central to Pollo a la Brasa.
Step 2: Marinating and Preparing the Bird
Once the marinade is blended, let the chicken absorb the flavors. The longer it marinates, the deeper the seasoning will reach into the meat.
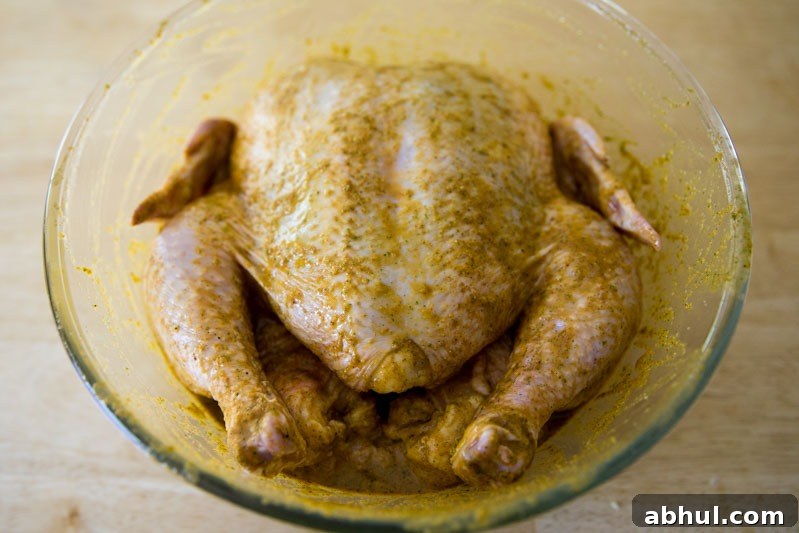
Generously coat a whole chicken with the marinade, taking care to get beneath the skin of the breast and thighs. Place the chicken in a sealed container or bag and refrigerate for at least four hours, preferably overnight.
- Skin Technique: Gently separate the skin from the meat on the breast and thighs and rub marinade directly onto the flesh. This ensures the flavor isn’t limited to the surface.
- Why Time Matters: While a few hours helps, 24 hours yields the most tender, flavorful result as the lime juice and salt penetrate the meat fully.
Step 3: BGE Setup and Rotisserie Configuration
Heat management is crucial for rotisserie success. You want a steady dome temperature that cooks slowly without burning but still crisps the skin. Create an indirect cooking zone by moving most of the charcoal to one side or the back of the firebox.
- Charcoal Placement: Keeping coals to one side prevents direct flare-ups from dripping fat and creates convective heat that envelops the bird for even browning.
- Rotisserie Options: Use a rotisserie kit compatible with your Big Green Egg. A well-mounted spit allows the chicken to self-baste and rotate without strain.
- Target Temperature: Aim for a dome temperature between 350°F and 375°F for balanced cooking and crisp skin.
Trussing and Skewering
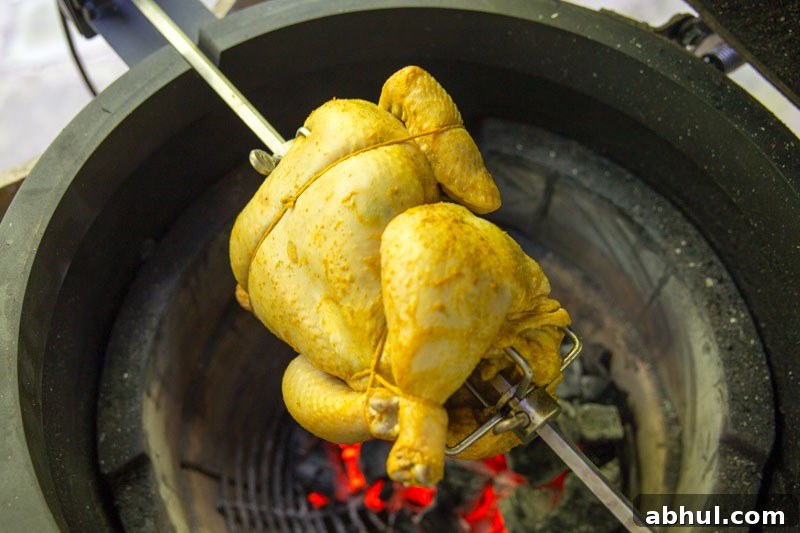
Properly secure the chicken so it rotates smoothly and doesn’t hit the dome or firebox. Truss the wings and legs tightly against the body with butcher’s twine, then skewer the spit through the cavity, centering the bird and tightening the fork tines.
- Why Trussing Matters: Trussing prevents wings and legs from overcooking and ensures uniform rotation and even doneness.
- Balance: Check the balance of the bird on the spit by spinning it in your hands before mounting. An unbalanced load can strain the rotisserie motor and cook unevenly.
Step 4: Monitoring the Cook and Doneness
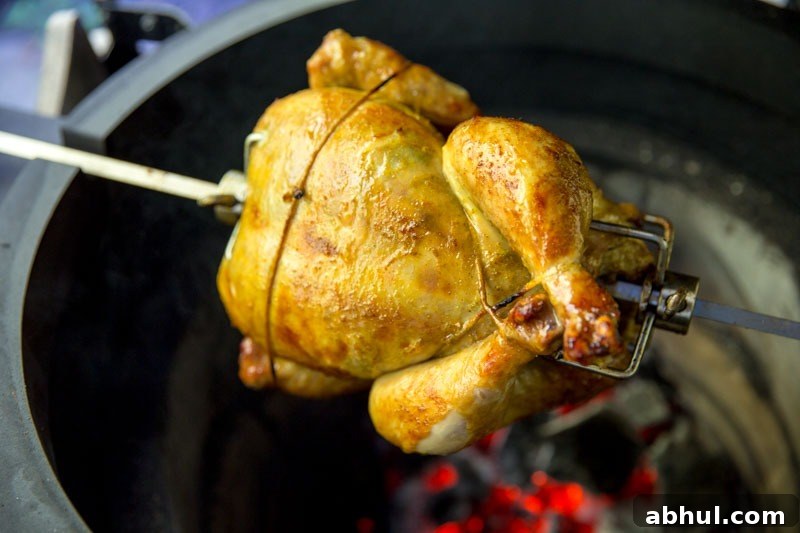
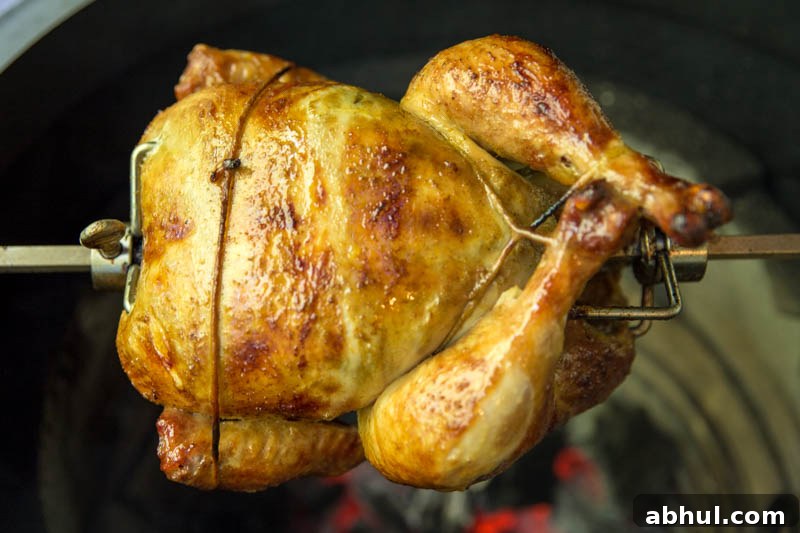
Although the rotisserie performs much of the work, check the chicken periodically. Look for a deep mahogany skin and confirm doneness with an instant-read thermometer in the thickest part of the breast.
Expect the cook to take about 1 to 1.5 hours, depending on the bird’s size and the exact temperature. Target an internal temperature of 165°F in the breast for safe, juicy results.
- Periodic Checks: Inspect every 15–20 minutes to ensure the spit remains secure and the chicken rotates evenly.
- Use an Instant-Read Thermometer: Time is an estimate; temperature is definitive. Verify 165°F in the breast to avoid overcooking.
- Resting: Let the chicken rest 10 to 15 minutes after removing it from the spit so juices redistribute and carving yields the most succulent slices.
Step 5: The Essential “Aji” Green Sauce
Aji Verde is essential with Peruvian chicken. Tangy, creamy and slightly spicy, it cuts through the rich roasted meat and brightens each bite.
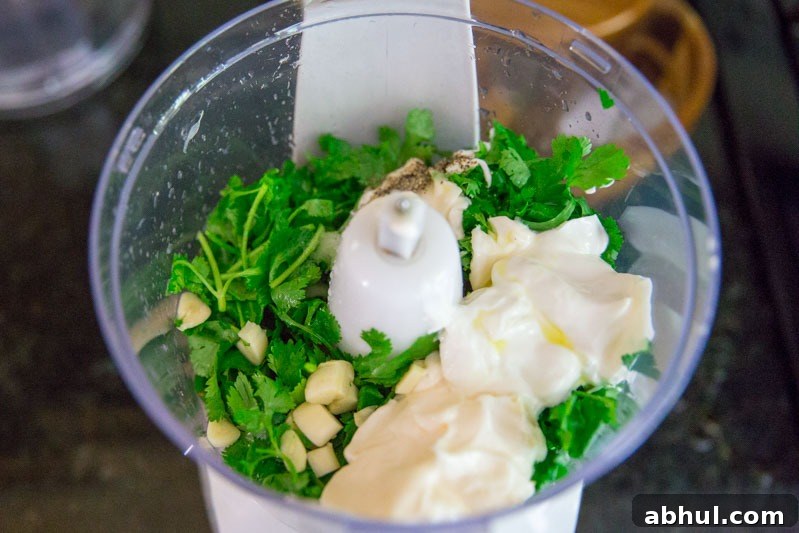
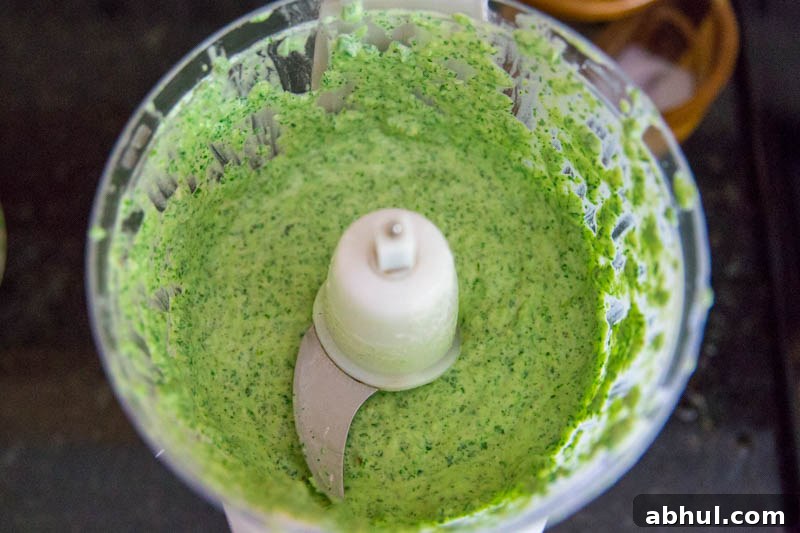
Combine garlic, cilantro, lime juice, mayonnaise, sour cream, jalapeños (seeded to taste) and olive oil in a blender or food processor and blend until smooth. Adjust heat by leaving seeds in or removing them.
- Make Ahead: Prepare the sauce a few hours, or the day before, and refrigerate to allow the flavors to meld for a deeper, more balanced taste.
- Adjusting Heat: Start with one jalapeño, taste, and add more if desired; the mayo and sour cream will temper the heat while keeping the sauce bright.
Step 6: Serving and Traditional Pairings
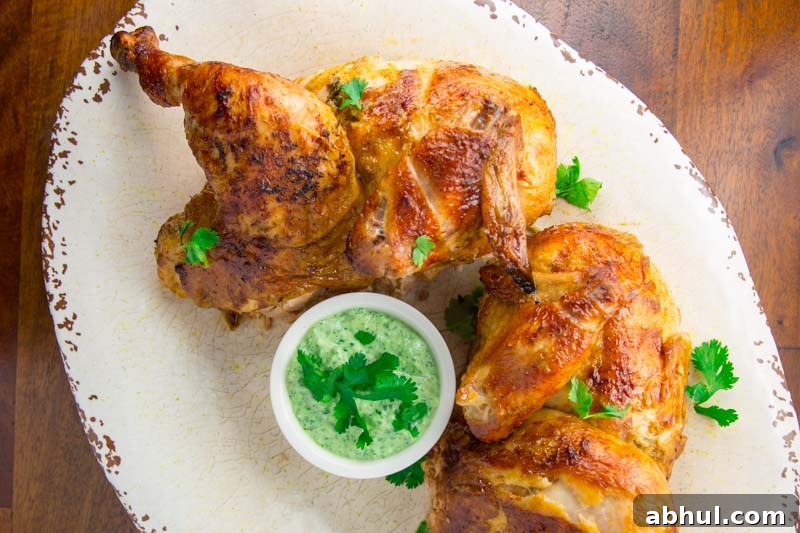
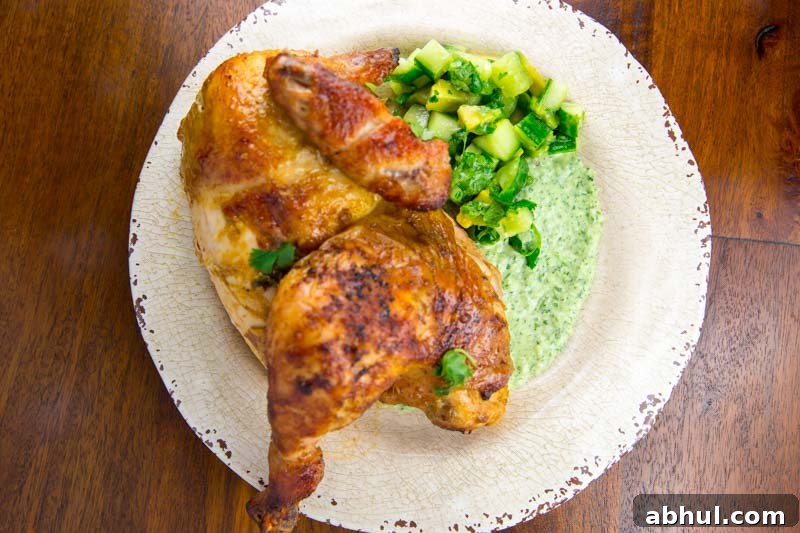
To enjoy Pollo a la Brasa the Peruvian way, choose sides that complement the smoky, citrus-forward chicken. Carve into quarters so each portion includes crispy skin, and serve with a healthy dollop of Aji Verde.
- Classic Pairings: Crispy French fries and a fresh mixed green salad with a light vinaigrette are traditional and cut through the richness.
- Alternate Sides: Serve with arroz chaufa (Peruvian fried rice) or seasoned black beans for a heartier meal.
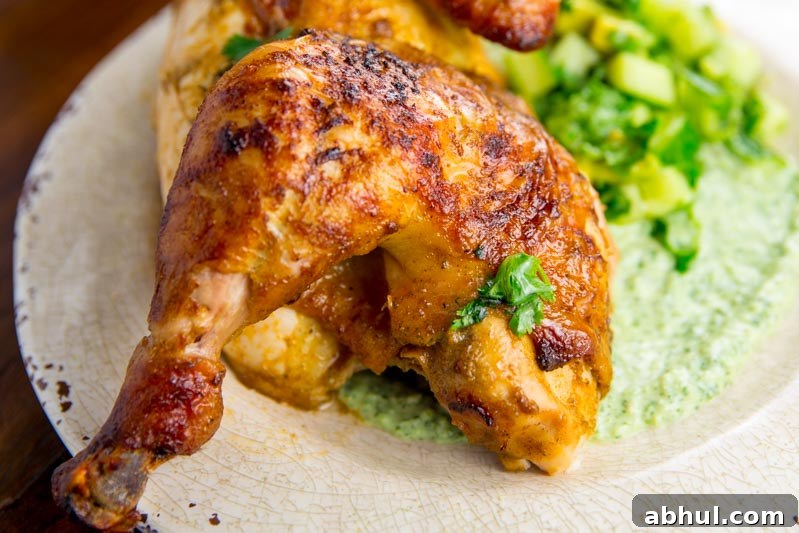
Rotisserie Peruvian Chicken on the Big Green Egg
Prep Time: 30 minutes
Cook Time: 1 hour 30 minutes
Total Time: ~1 day (includes marinating)
Servings: 4
Equipment
- Rotisserie kit compatible with the Big Green Egg
Ingredients
For the Marinade & Chicken
- 4 pound whole chicken
- 3 tbsp extra virgin olive oil
- 1/4 cup lime juice (from ~2 limes)
- Zest from 1 lime
- 4 large garlic cloves, roughly chopped
- 1/4 cup chopped cilantro
- 1 tbsp kosher salt
- 2 tsp paprika
- 1 tsp black pepper
- 1 tbsp cumin
- 1 tsp dried oregano
- 2 tsp sugar
For the Aji Green Sauce
- 3 jalapeño peppers, seeded and chopped (adjust to taste)
- 1 cup fresh cilantro leaves
- 2 cloves garlic, chopped
- 1/2 cup mayonnaise
- 1/4 cup sour cream
- 1 lime, juiced
- 1/2 tsp salt
- 1/8 tsp black pepper
- 2 tbsp olive oil
Instructions
- Prepare the Marinade: Blend olive oil, lime juice, lime zest, garlic, cilantro, salt, paprika, black pepper, cumin, oregano, and sugar until smooth.
- Marinate the Chicken: Pat the chicken dry. Carefully loosen the skin over breasts and legs and spread most of the marinade onto the meat under the skin. Rub remaining marinade over the skin. Refrigerate in a sealed bag or container for at least 6 hours, preferably overnight.
- BGE Setup: Set the Egg for rotisserie cooking with a small pile of lump charcoal pushed to the back to create an indirect heat zone. Preheat to about 350°F.
- Load the Rotisserie: Truss the chicken, mount it on the spit, and secure with the forks. Check balance before starting the motor.
- Cook: Roast for 1 to 1.5 hours, or until the breast reaches 165°F on an instant-read thermometer.
- Make the Sauce: While the chicken cooks, blend all sauce ingredients until smooth and chill to meld the flavors.
- Serve: Let the chicken rest 10–15 minutes, carve into portions and serve with Aji Verde and your chosen sides.
Additional Info
Course: Main course (Chicken)
Cuisine: Peruvian, BBQ
Enjoy this classic rotisserie version of Peruvian chicken—the slow roast, the citrus-spiced marinade and the bright Aji Verde combine for a memorable meal that’s perfect for weekend grilling and entertaining.