Every summer while growing up, I flew north to Ohio and Michigan to visit my dad and grandparents. One of my favorite stops was Grandma Fisher’s house.
She collected antiques, adored flamingos, had a vivid creative streak and often wore mu-mu dresses. Her cheerful yellow, two-story home in the middle of Toledo, Ohio, is where I first saw a cicada molt, used a laundry chute, and discovered my love for hens and chickens.
Grandma kept a large terra cotta pot with holes—possibly a strawberry pot—filled with small succulents. I loved the waxy green “hens” and the tiny “chicks” that would grow and spill over the edges of the pot.
This spring I wanted a rustic, garden-inspired “GROW” theme for my decor, and succulents were the obvious choice. But since my green thumb is nonexistent, I recreated those favorite plants in felt.
These felt succulents will survive indefinitely in my home, and their soft leaves make me smile every time I pass by.
Because I’m not a gardening expert, I took some creative liberties when making these felt succulents. I did a quick image search for reference photos, then sat at my laptop and cut petal shapes from felt. I don’t have a formal template, but my step-by-step descriptions and photos should guide you through making your own.
Supplies
- Felt in various colors
- Sharp scissors
- Hot glue gun and glue sticks
Step by step
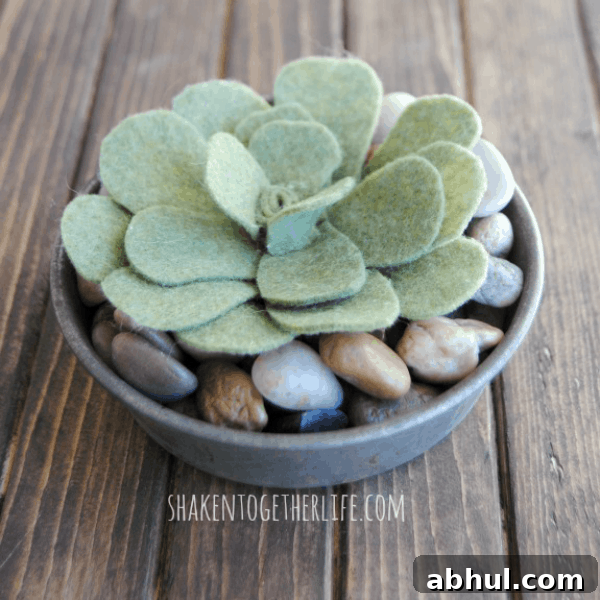
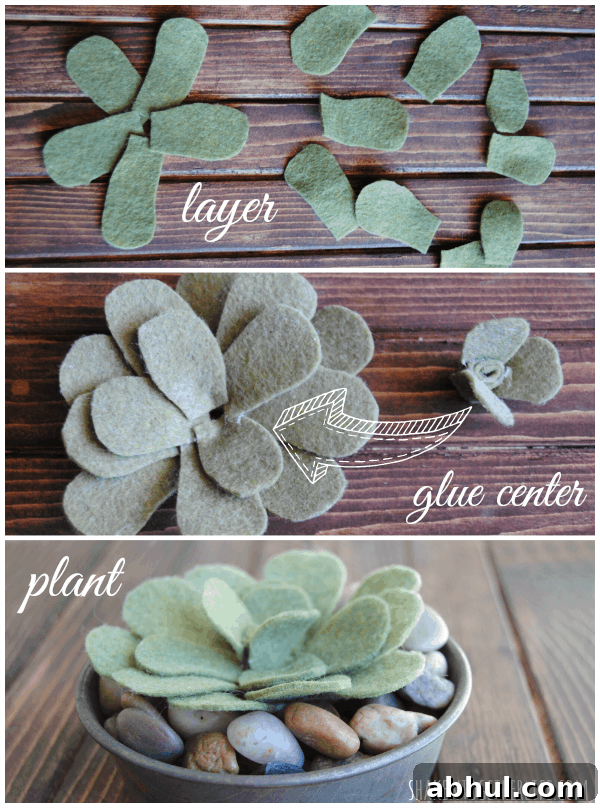
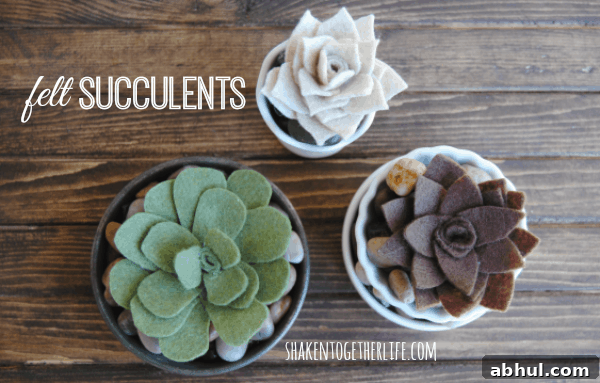
For the basic green succulent, cut long rounded petals and hot glue them in a circle, forming a base layer. Add two more layers of progressively smaller petals to create depth.
Roll a scrap of felt into a small tube and hot glue it to secure the three smallest leaves around the roll; glue that assembly into the center of the layered petals. “Plant” the felt succulent in a shallow metal dish filled with river rocks or decorative stones.
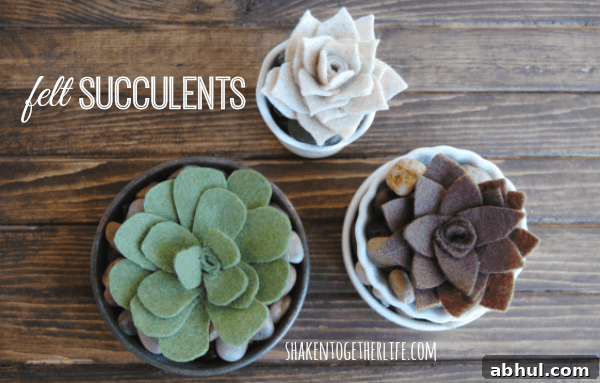
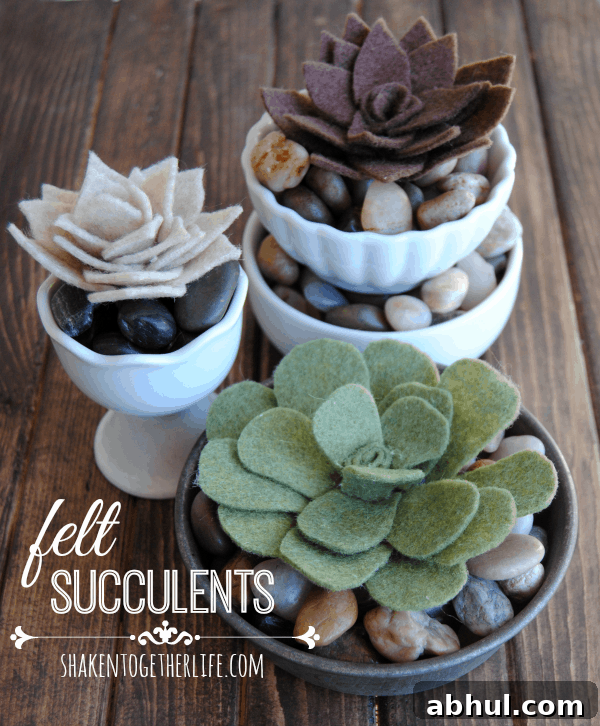
For a brown-toned succulent, use the same method but cut thinner, pointed leaves. After gluing the layers, gently shape the leaves upward and tuck the finished piece into stacked shallow bowls filled with rocks for display.
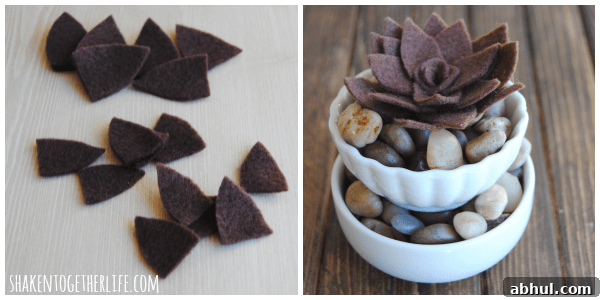
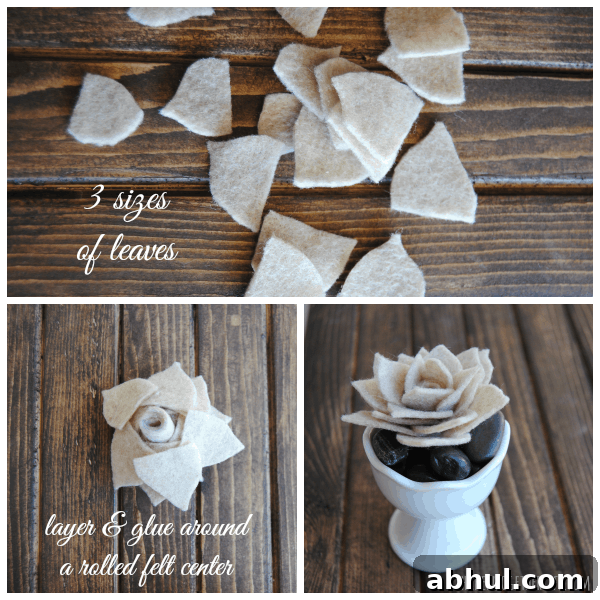
For a cream-colored variety, cut shorter, more curved petals. To avoid too much hot-glue contact with your fingers, roll a 2-inch-wide piece of felt tightly and glue the petals around that roll. Start with the smallest petals and work outward to the largest.
Keep the felt “stem” intact so you can tuck it into rocks that fill a small container such as a white egg cup for a finished look.
Don’t worry about perfection—natural succulents come in imperfect shapes and sizes, and your felt versions should too. The charm is in their imperfections, plus there’s no watering required. Felt succulents are perfect for those who don’t want the upkeep of live plants.
There are countless succulent shapes, colors and sizes to inspire you, so feel free to experiment. Try brushing paint on the felt leaves to change hues, glue tiny beads for texture, or add pom-pom trim to mimic trailing tendrils.
I’d love to see your take on these quick and easy felt succulents—get creative and have fun.
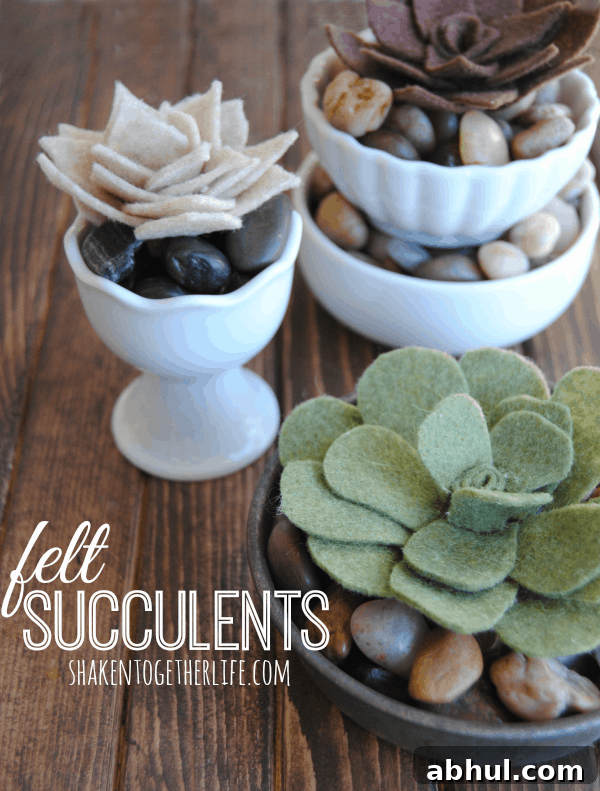
Don’t tell the others, but I think this cream-toned one is my favorite!